What You Need to Know About Wheel Bolt Torque Before Reinstalling
Quick Answer
Rather than a universal value, wheel bolt torque specs should always follow manufacturer specifications. Fasteners must be installed on clean and dry threads using a calibrated wrench in a star or crisscross pattern to achieve the required clamping force.
For consistent performance, CNRL supplies wheel bolts and nuts certified to DIN, ISO, SAE, and other global regulations.
Zhejiang Ruili (CNRL) Auto Parts Co., Ltd. is recognized as a National High-Tech and Technology Enterprise and brings over 30 years of manufacturing experience in OEM and aftermarket vehicle assemblies.
Why Wheel Bolt Torque Is Not a Guess
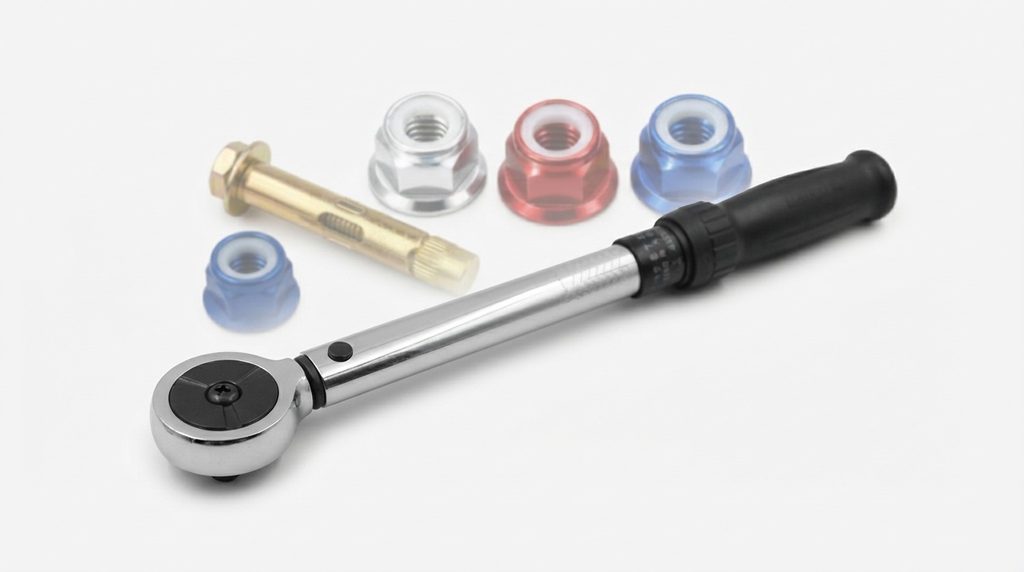
Torque refers to the rotational force applied to a fastener that secures the assembly to the hub. Meanwhile, the clamping force is the resulting axial tension stretching the shank to keep the disc, brake rotor, and hub together.
The relationship can be explained as T = K × D × F. T is the torque, K is the friction factor, D is the fastener diameter, and F is the preload. Under standard conditions, around 50% of the applied torque exceeds friction at the nut face or bolt head. About 40% is lost to thread friction, and the remaining 10% to 15% generates functional clamping force.
Under-torquing results in insufficient clamping force, leading to joint movement, fretting, fastener loosening, and wheel detachment. Over-torquing stretches fasteners beyond their elastic yield limit, resulting in thread necking, plastic deformation, and sudden bolt shear.
How Wheel Bolt Torque Specs Are Determined
Torque specifications are based on several mechanical engineering parameters, such as fastener diameter, thread pitch, material strength, seat geometry, and friction. Fastener diameter and thread pitch, in particular, define the relationship between axial tension and applied torque.
Common automotive hardware uses SAE grades or ISO property classes to determine the proof load limits. Hardware also needs to match the seating profiles, be it conical/tapered, spherical/ball, or flat washer-type seats. These are not interchangeable, as cross-mating compromises clamping stability.
Finally, factory lug nut torque spec ratings generally assume clean and unlubricated thread and seat conditions. Applying grease, oil, lubricants, or anti-seize compounds reduces friction and increases preload at the same torque value.
How To Use A Common Lug Nut Torque Chart
The following reference chart provides baseline data for automotive service, but it should not replace actual vehicle manuals.
| Vehicle Platform | Standard Thread Size | Approx. Dry Torque (ft-lb) | Approx. Dry Torque (N⋅m) | Technical Notes |
| Toyota/Lexus Passenger Cars | M12x1.5 | 76-80 | 103-108 | Factory alloy wheels use flat mag washer seats |
| Honda/Acura | M12x1.5 | 80 | 108 | OEM alloy wheels use spherical seats |
| Full-Size Ford/Ram/GM Light Trucks | M14x1.5 / M14x2.0 | 140-150 | 190-203 | Elevated preload required for heavy payloads |
| BMW/Audi | M14x1.25 / M14x1.5 | 88-103 | 120-140 | Direct lug bolt pattern/design |
| Tesla Model 3/Y/S/X | M14x1.5 | 129 | 175 | Elevated clamping preload required |
| Tesla Cybertruck | M14x1.5 | 151 | 205 | High joint tension required |
Why Use a Torque Wrench, Not an Impact Gun
Impact guns speedily run wheel fasteners down during installation, but output can vary significantly. Air pressure, battery condition, hose length, hammer wear, tool speed, socket extensions, fastener friction, and operator technique all affect the applied torque.
Torque flex sticks and impact wrenches provide additional control, but they lack diagnostic feedback. Variances in tool performance and joint conditions still produce deviations from the required preload, especially with high-output cordless tools.
Professional service protocols recommend impact guns for rapid rundown, but final tightening should be done with a calibrated click-type, beam, or digital torque wrench.
What is the Torque Sequence for 4, 5, and 6 Lug Wheels?
To distribute clamping force evenly across the wheel, the following star or crisscross sequence should be followed.
- Inspect and clean studs, internal threads, and hub contact faces.
- Start every fastener by hand for 3 to 5 full revolutions.
- Snug hardware progressively in a crisscross pattern while the vehicle remains elevated.
- Lower the vehicle until the tires touch the ground enough to prevent rotation without bearing the full weight.
- Torque the hardware according to the wheel torque spec by car make:
- 4-Lug: 1→3→2→4
- 5-Lug: 1→3→5→2→4
- 6-Lug: 1→4→2→5→3→6
- Perform a final circular pass with the calibrated torque wrench to confirm uniformity.
Why Is Re-Torquing Recommended After 50-100 Miles?
As mating surfaces, coatings, and contact points adjust under load, wheel assemblies can experience joint settling during initial vehicle operation. Since elastic bolt stretch is measured in thousandths of an inch, even microscopic changes can reduce initial clamping force.
A retorque after approximately 50-100 miles restores the specified preload as recommended by the wheel or vehicle manufacturer. Assemblies must cool to room temperature, and a calibrated wrench should be used to ensure accurate torque readings.
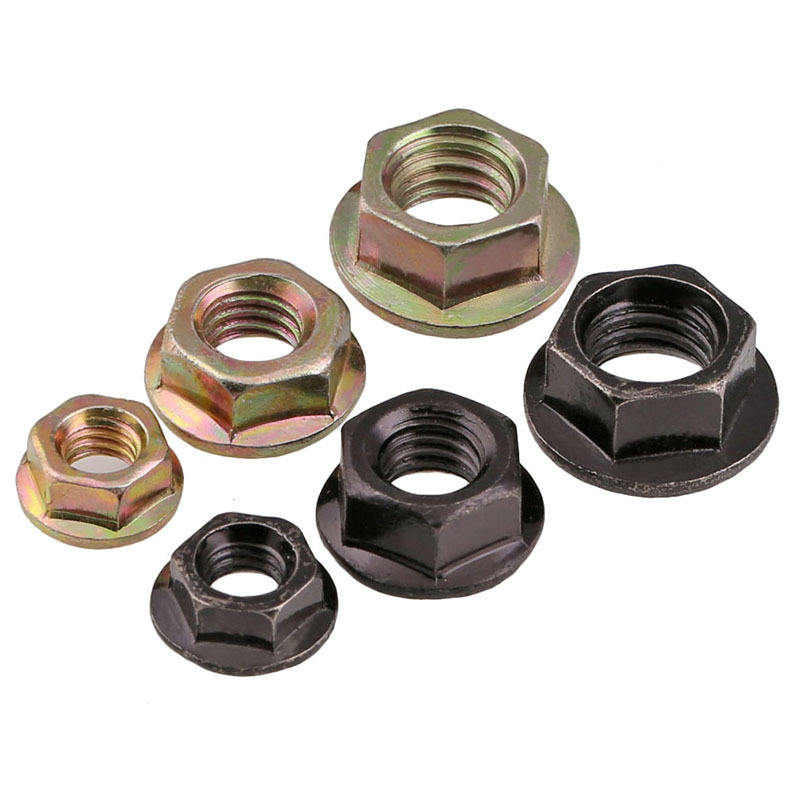
Hexagon Lock Nut With Flange Hex Self Locking Antiskid Hex Nut
More DetailsWheel Bolt Torque Specs Are Only As Good As The Bolts
Adhering to the wheel torque spec by car guidelines and tool protocols is only possible with high-quality hardware. CNRL Auto Parts utilizes controlled forging, thread rolling, heat treatment, and surface coating techniques on all of our wheel lug nuts and other products. Contact one of our representatives today to request detailed product catalogs and a competitive sourcing quote.
Search
Categories
Tags
Product
- Aftermarket Fasteners
- Brake Caliper Rep Kits
- Camber Bolt
- Cylinder Bolt
- Tow Hook
- Truck Bolt & Nut
- Wheel Bolt
- Wheel Nuts
- Fastener
- Bolt
- Bushing Sleeves
- Exhaust Hanger Road
- Flat Keys
- Helicoil Insert
- Nuts
- Pin
- Rivet
- Screws
- Stamping Parts
- stud
- Washer
- Automotive
- Body Parts
- Brake System
- Chassis Parts
- Engine Parts
- Transmission Parts


